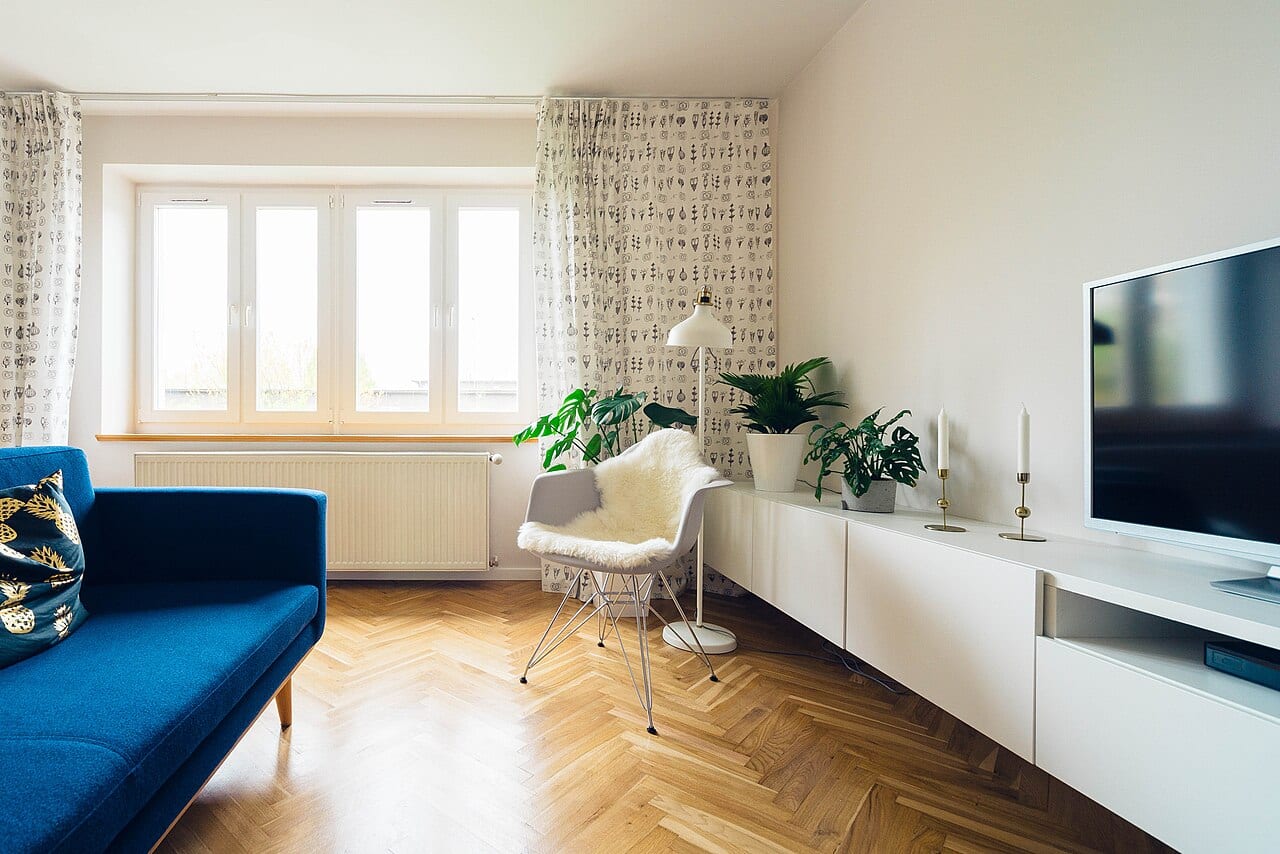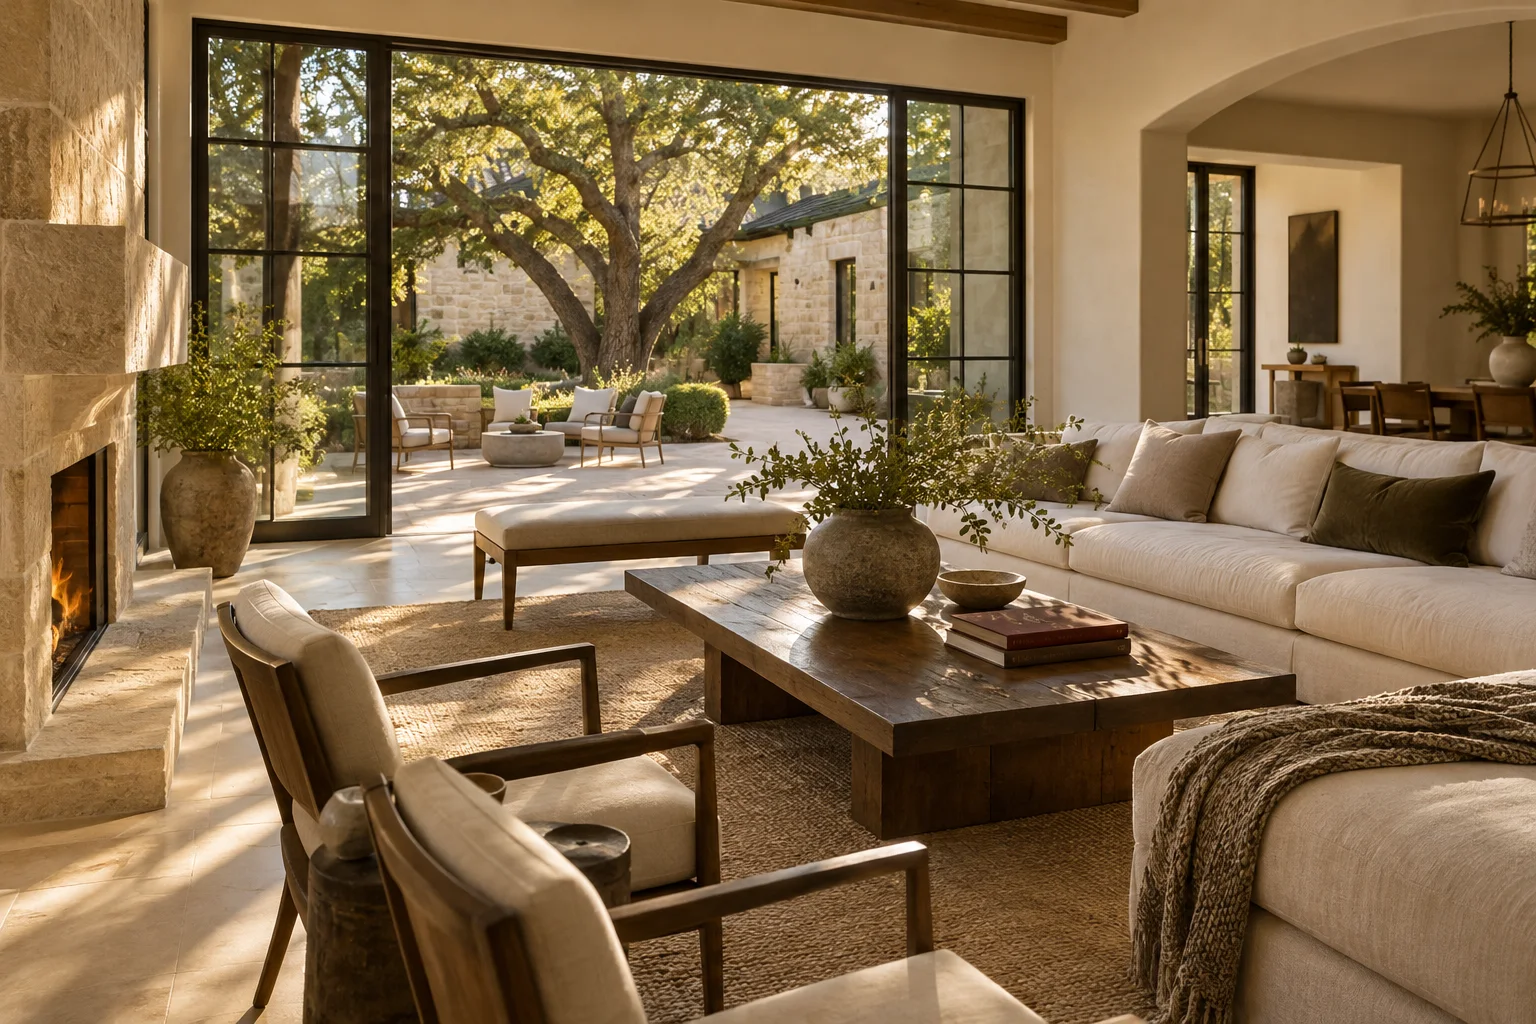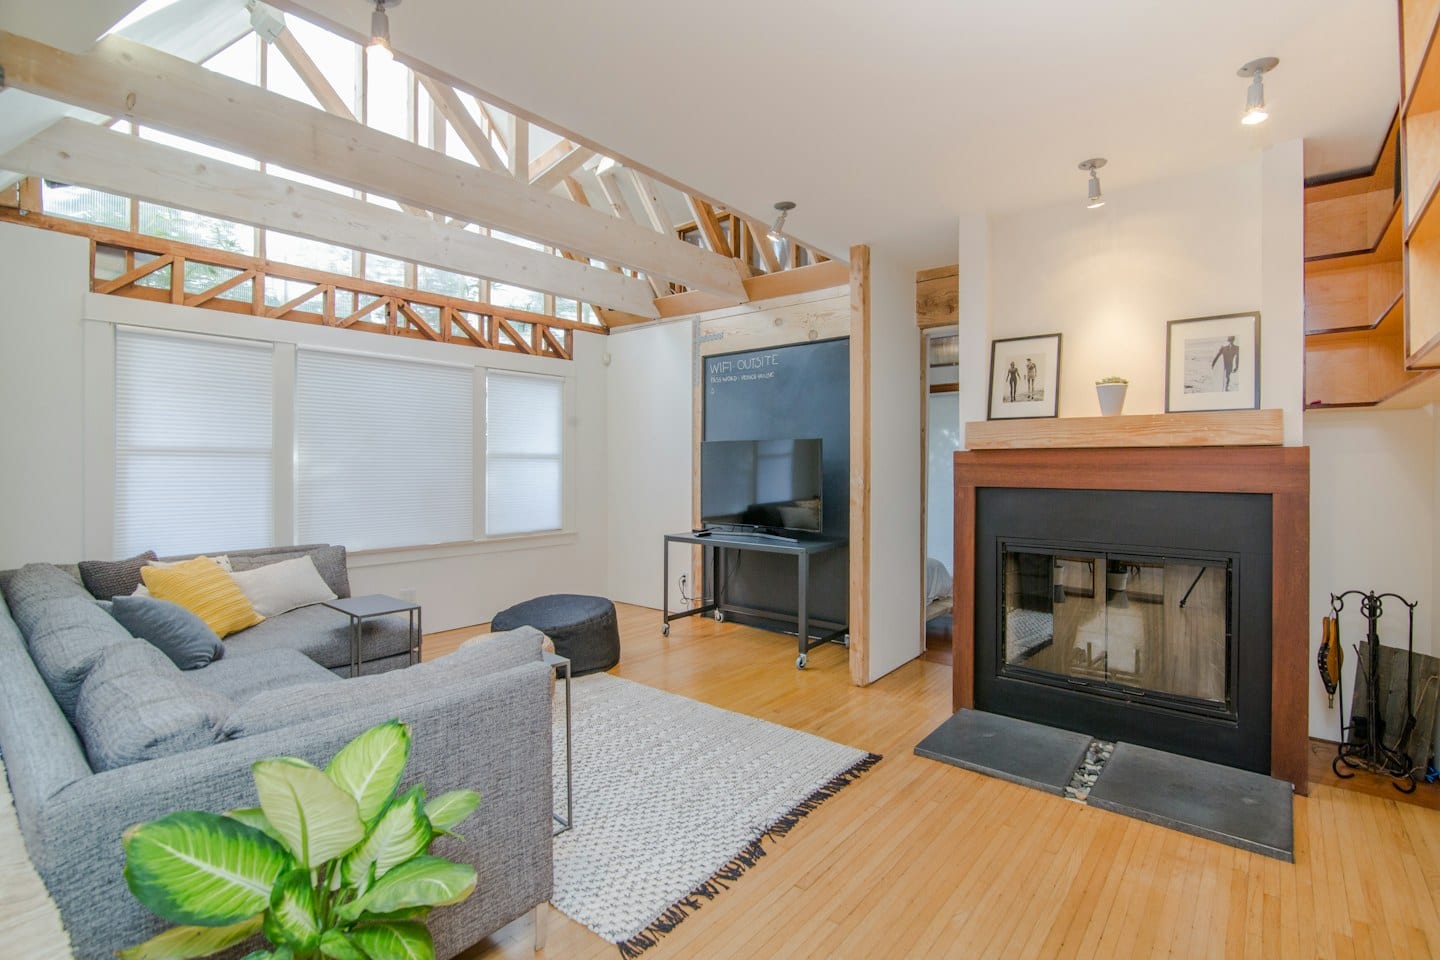
When you sit down with a stack of glossy spreads, coffee‑table books, and saved screenshots, the images on their own can feel like a jumble of wishful thinking. The trick is to move from admiration to articulation—turn those pictures into a working brief that tells a designer exactly what you love, what you can’t have, and where the real constraints of your home lie.
Start with the pictures you already love
When you flip through the magazine spreads and Instagram saves that sparked your renovation ideas, pause at each image and ask two simple questions: what draws you in, and what would trip you up in your own home? A quick pen‑stroke or digital note—like a star beside a plush sofa, or a line crossing out a chandelier that feels too lofty—captures the emotional pull. This first pass turns a vague feeling of “I want something like that” into a list of concrete preferences you can point to later.
Layer in the realities of your space
Next to each annotated photo, jot a short description of the room you’re planning to change. Mention the square footage, ceiling height, existing window placement, and any fixtures that can’t move, such as a built‑in pantry or a historic fireplace. If the room serves multiple functions—home office by day, guest bedroom by night—note that dual purpose. These constraints let the designer see where a cherished element fits or where a compromise might be needed.
Spot the trade‑offs before the meeting
Imagine you love a high‑gloss, dark‑stained wood floor you saw in a downtown loft photo. The same floor, however, may show wear faster in a family room that sees heavy foot traffic and occasional spills. On the other hand, a lighter, matte finish you’re less thrilled about could hide scratches and stay looking fresh longer. By pairing the visual appeal with a practical note—"dark, high‑gloss; may show wear quickly"—you set the stage for a discussion about durability versus aesthetic impact.
Prepare the questions that matter
When you sit down with a designer, bring the annotated pages and ask targeted questions. Examples include:
- Material performance: "How does the finish you recommend handle the humidity swings we get in North Texas summers?"
- Layout flexibility: "If we keep the existing built‑in closet, can we still achieve the open feel I liked in the open‑plan photo?"
- Budget alignment: "Which of the pieces I marked as favorites can be sourced at a comparable cost without compromising quality?"
These questions keep the conversation anchored to what you’ve already identified as important, while inviting the designer to suggest alternatives that respect both style and function.
Wrap up with a shared visual reference
After the meeting, ask the designer to compile a short mood board that mirrors your annotated images, but with the agreed‑upon adjustments highlighted. This visual recap works like a checkpoint: you can verify that the dark floor has been swapped for a lighter, more forgiving option, or that the sleek lighting fixture will fit the ceiling height you noted. If anything looks off, you have a concrete reference to bring back for clarification.
By turning a collage of inspiration photos into a systematic brief—complete with likes, dislikes, constraints, trade‑offs, and focused questions—you move from dreaming to deciding. The result is a design conversation that respects your taste, your home’s realities, and the practicalities of everyday life, setting the stage for a space that truly feels yours.